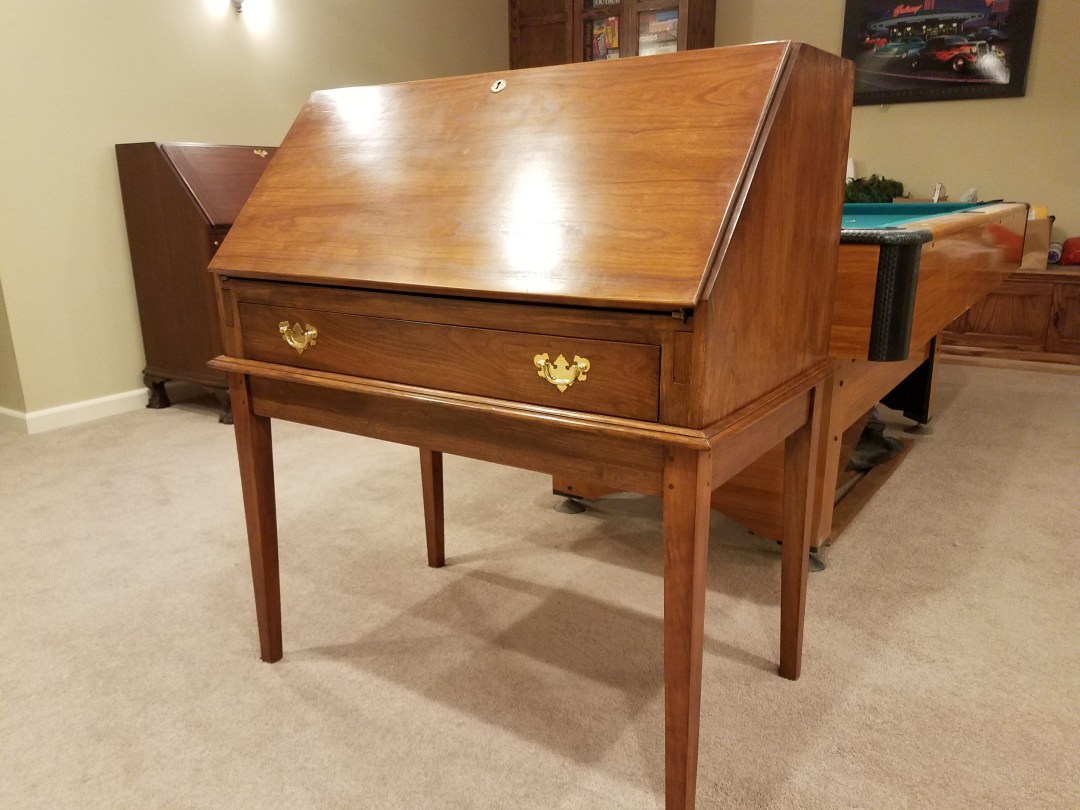
This desk didn’t just challenge me, it also challenged my tools. I love how this turned out, and I really like the General Finishes products. The Chestnut Gel Stain and Arm-R-Seal satin finish really came out great, and it was super easy to put on. I highly recommend it! But on to the desk.
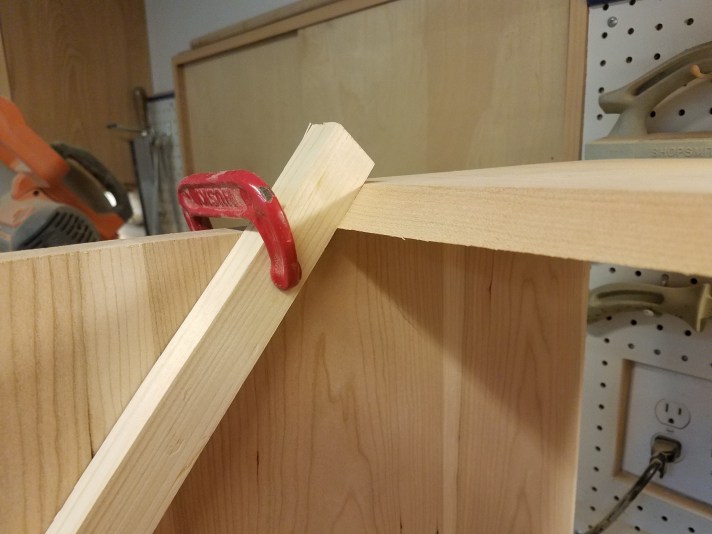
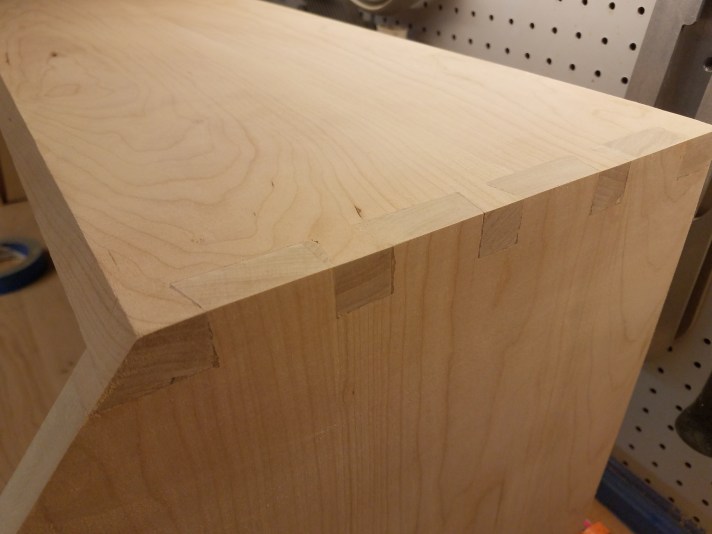
It starts like many furniture projects, with some initial glue-ups, some planing, and some sanding. Getting the correct angle for the lid takes a lot of careful measurements, some math skills, paper and pencil, and patience. I dry-assembled the case, and then installed the hinges in place, using a piece of scrap instead of the actual lid. This allowed me to mark the side of the case so I could cut the correct angle, and it also helped me establish the angle to cut the edge along the top of the desk. It isn’t perfect, but if I ever make a second one of these, I think I’d have this sucker licked!
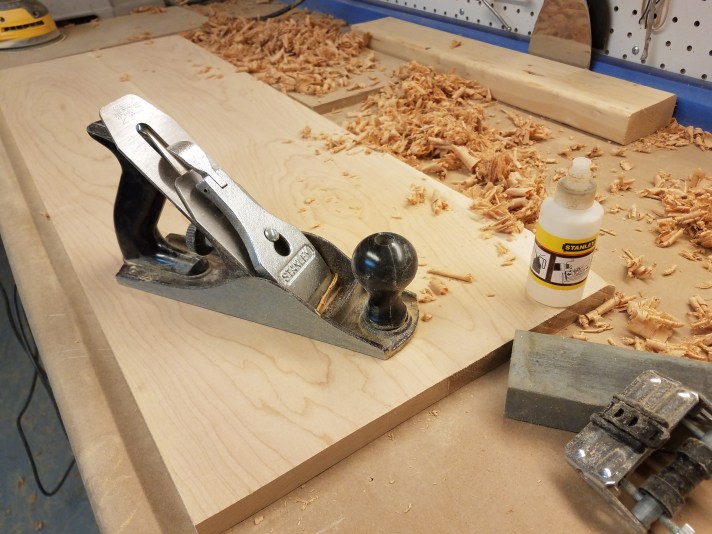
For the panel glue-ups, this was the first time I’d tried hand-planing. What a time-saver this turned out to be. If you are like me, there is always a little bit of a fluctuation in the panel once the clamps come off. Sanding, even with a course grit on the sander, take a lot of time and makes a lot of dust. So I pulled out my Stanley bench plane and sharpened up the blade. With a little tuning here and there, this worked great for flattening out the panel and making the sanding stage much quicker. If I had a wide planer or drum sander, that would’ve been my first choice, but I don’t have that stuff.

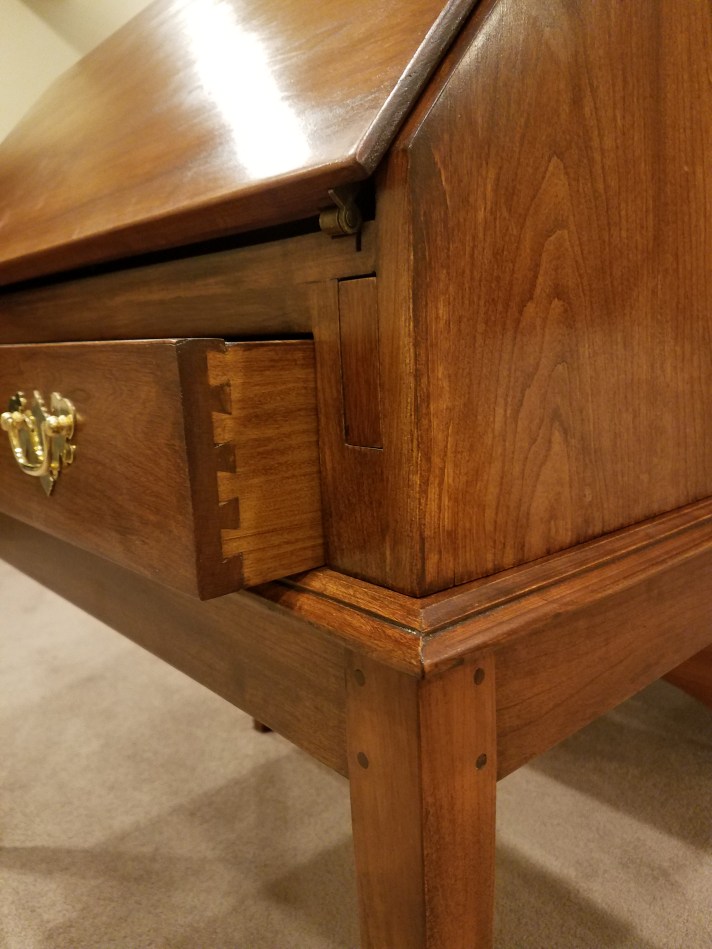

I used glued-up stock for the legs too. I was worried that once I applied the finish, that there would be obvious lines where the two pieces joined, but that didn’t happen. With some careful attention to the grain patterns, the finished product looks like one piece of solid wood. For the tapers, I could have used a taper jig, but I decided to mark them and cut them on the bandsaw. I then used the bench plane to smooth the faces and then touched up the surfaces with a palm sander. This worked out great for me.
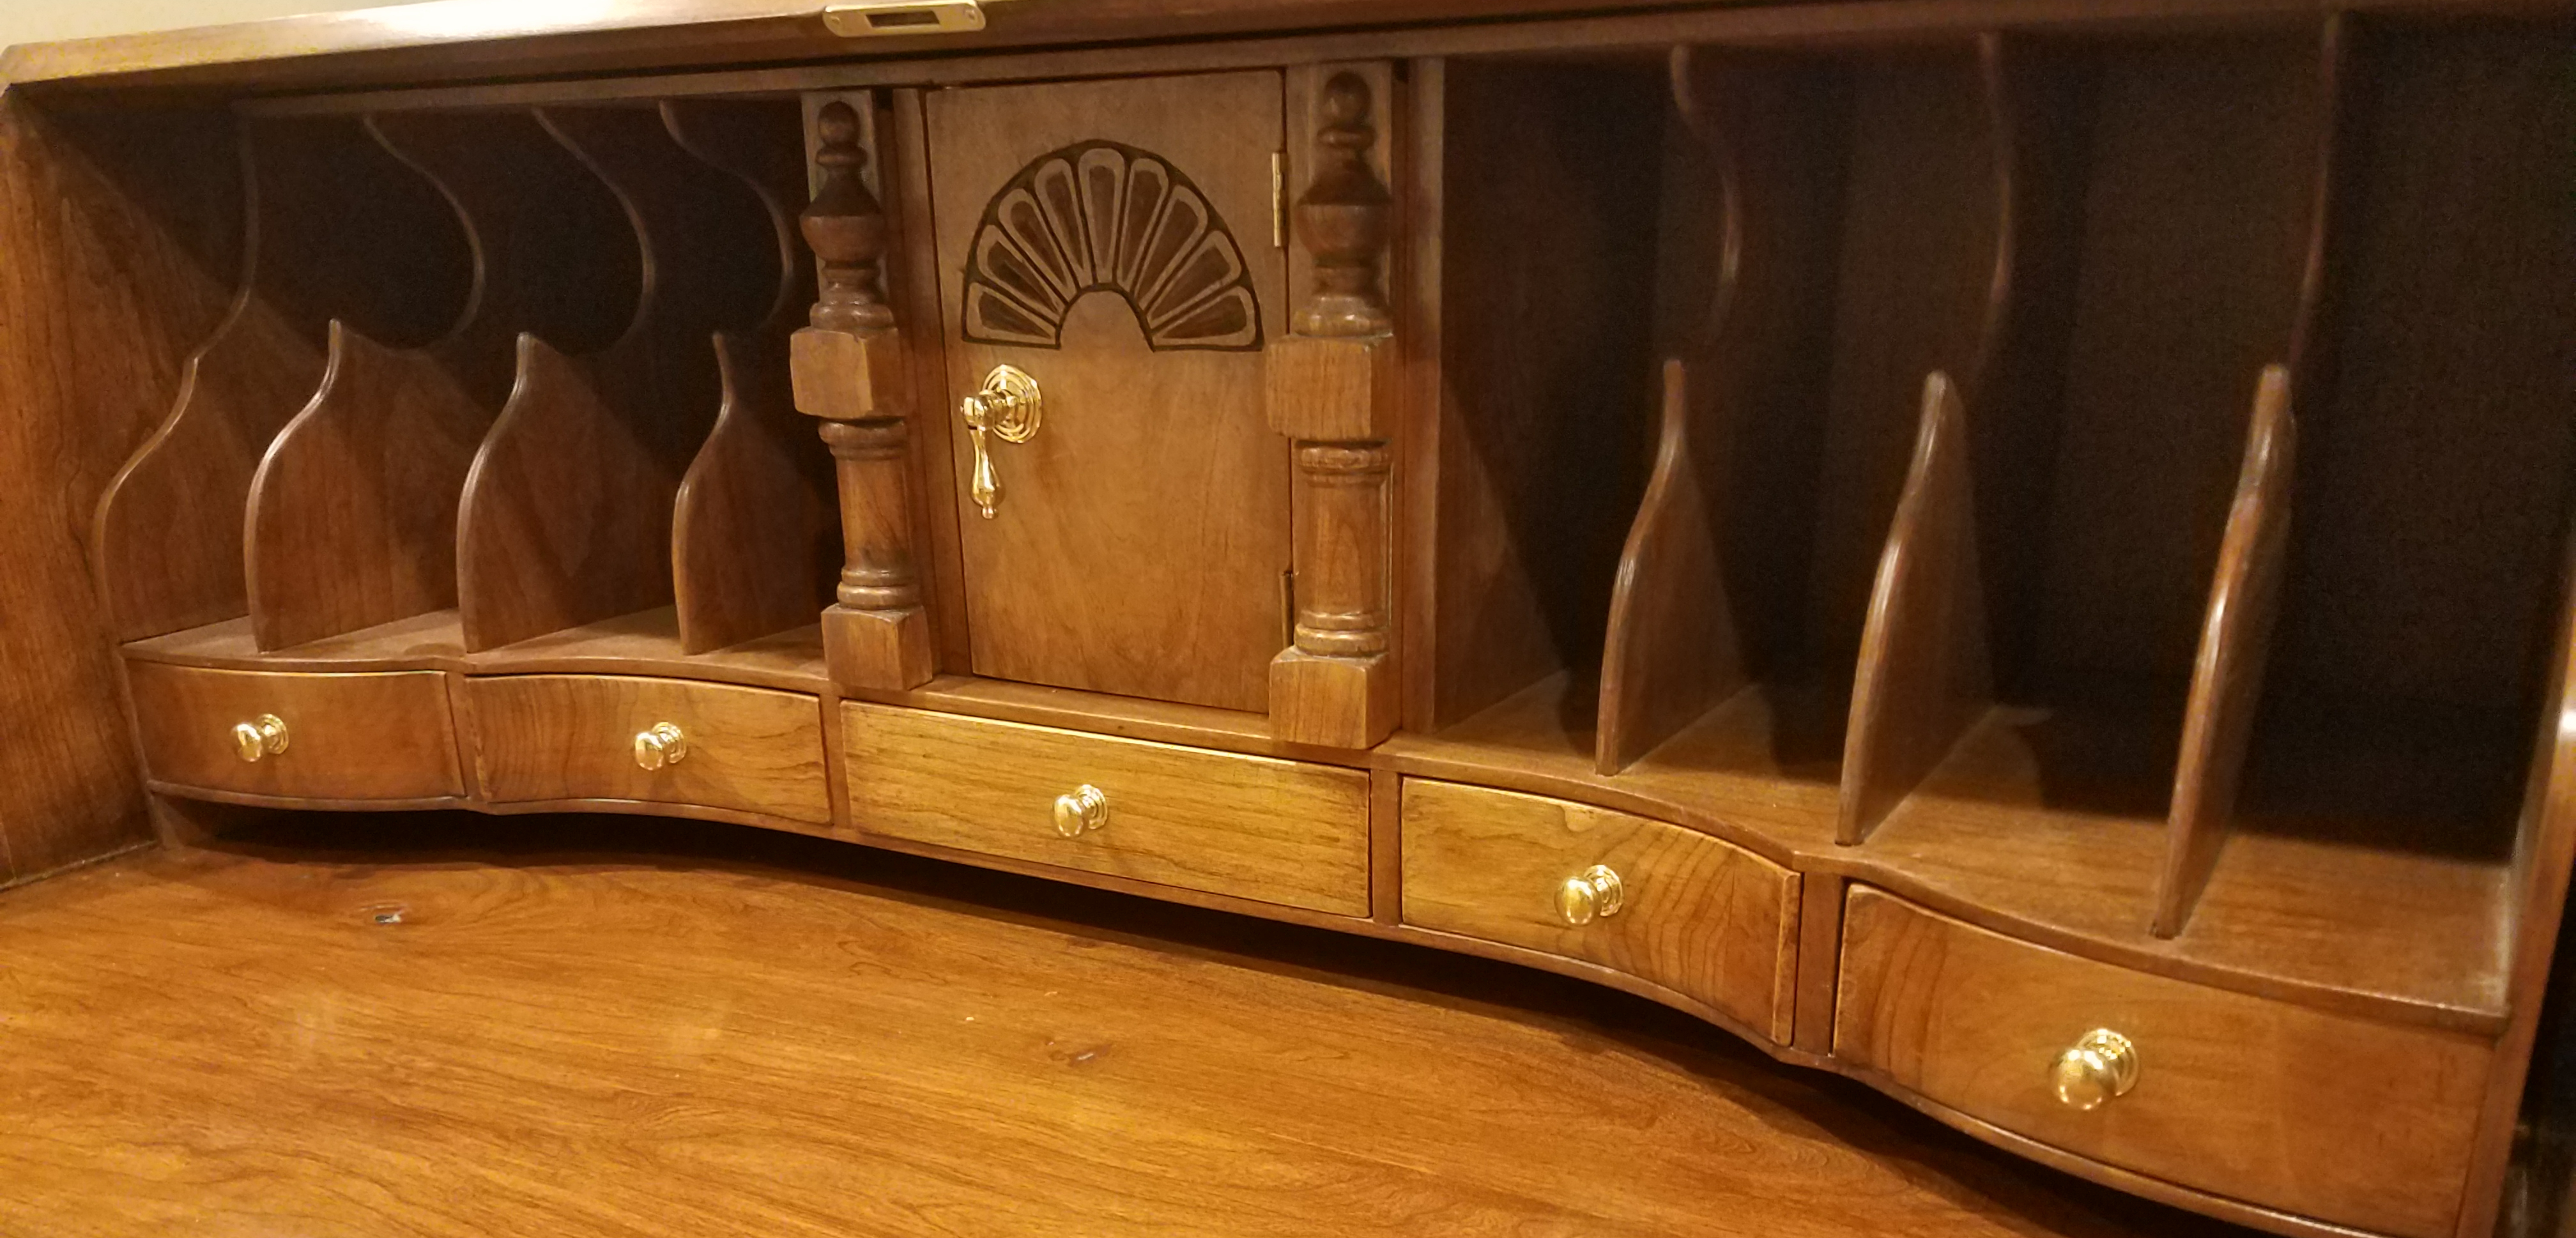
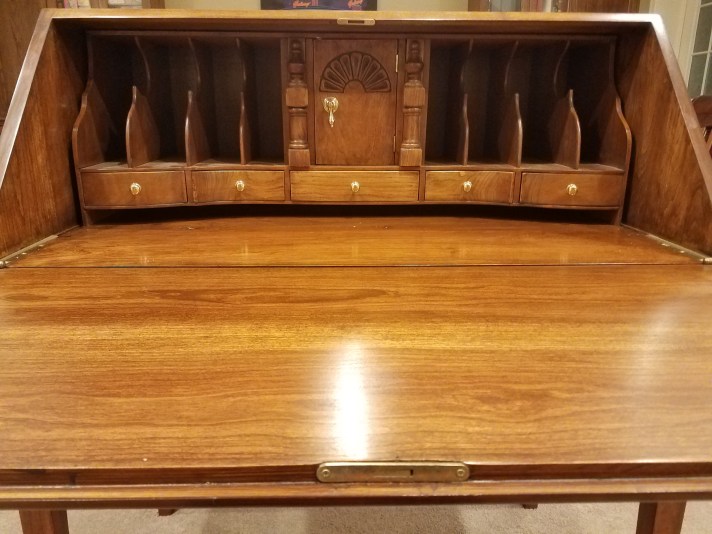
Hardest part for me was all the resawing that had to be done for the cubbies inside the desk. Maybe it was operator error, but my small Shopsmith bandsaw just couldn’t get the job done. The blade wandered inside the wood, even on stock that was only three to four inches wide, leaving a curved face. Eventually, I got enough usable materials to build the complicated unit for inside the desk. For planing the thin cherry, I used a ¾-inch MDF sled, and secured the cherry with double-sided tape. This worked amazingly well. For a lot of the materials, I had to resaw the materials in narrower widths than I’d like, and then glue the thin stock together into panels. Then, I ran those through the planer or sanded each panel.
I think I’ll tackle how I did the small drawers in a separate post. But for now, I hope you enjoyed this bit about the desk.
