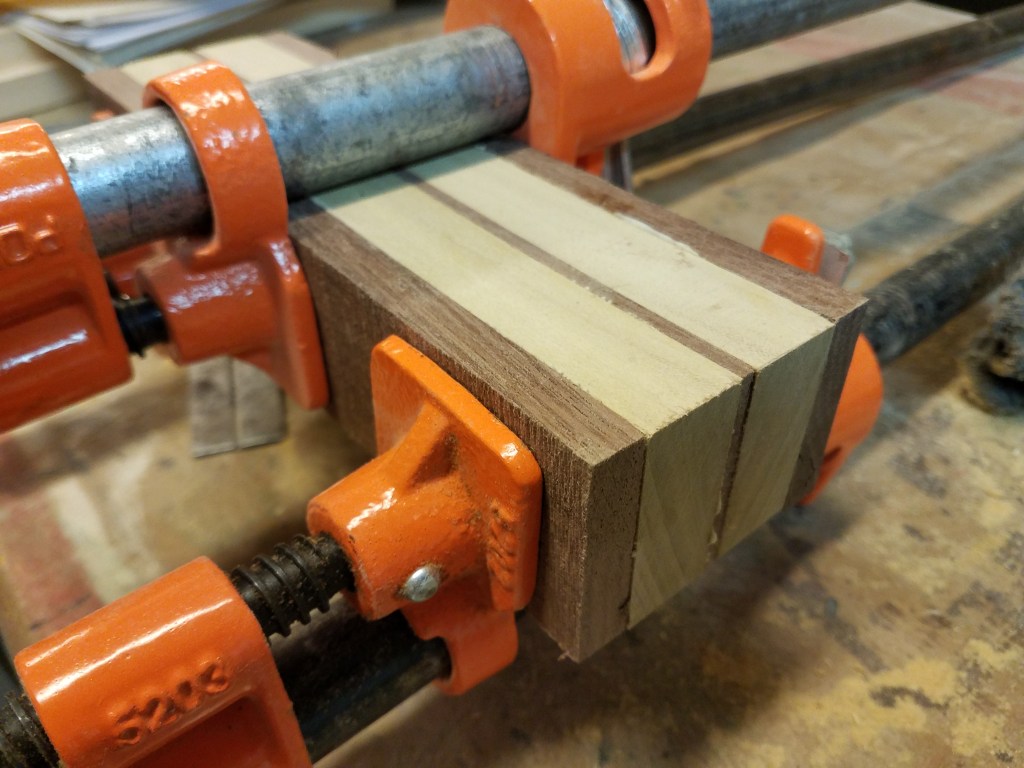
I was sorting through the wood scraps in my shop and noticed the contrast between the walnut and poplar, and for some reason, I saw a Cobra. Not the actual snake, but rather the car. The 1966 Shelby Cobra is one of my all-time favorites, and after seeing the Ford vs. Ferrari movie a while back, it all came together for me in these five strips of wood (Plus two additional pieces of walnut for the fenders). That’s the easy part.
Cobras have lots of curves, and it was tricky to find a way to cut this sucker up in such a way that I could shape the pieces and still get everything back together in the end. The solution was cutting it in half. For the center/body section, this allowed me access to carve out the interior area and get access to the dash. I cut the fenders in half so I could more easily chop out the area behind the front fenders and allow me to round over the rear fenders.
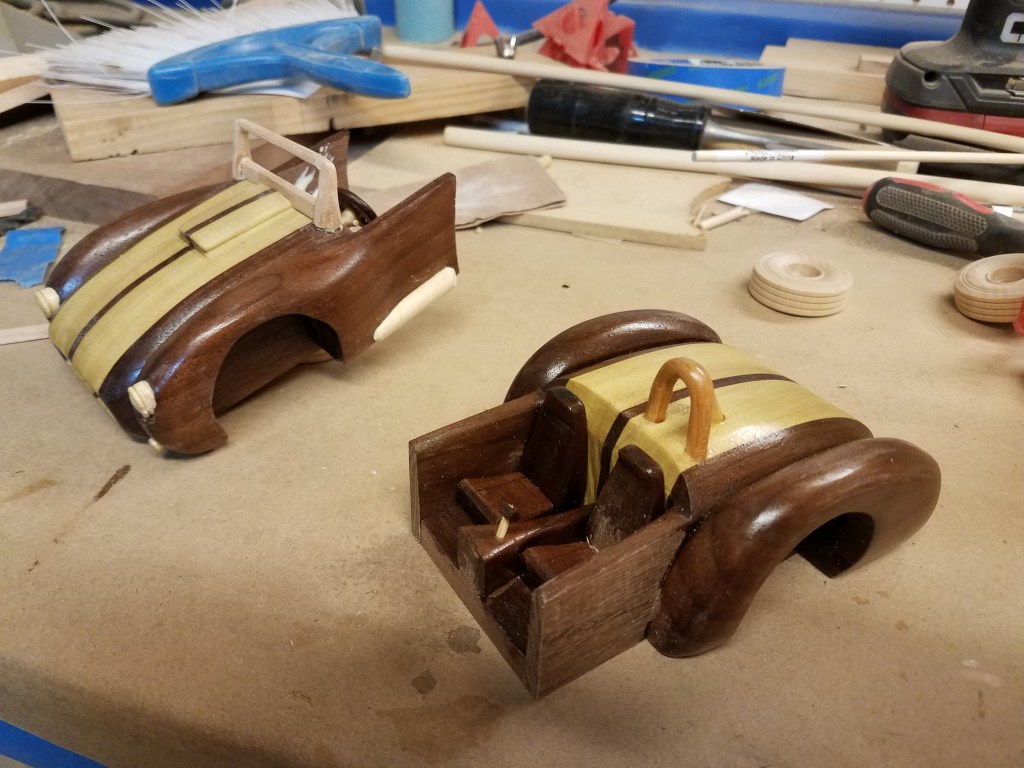
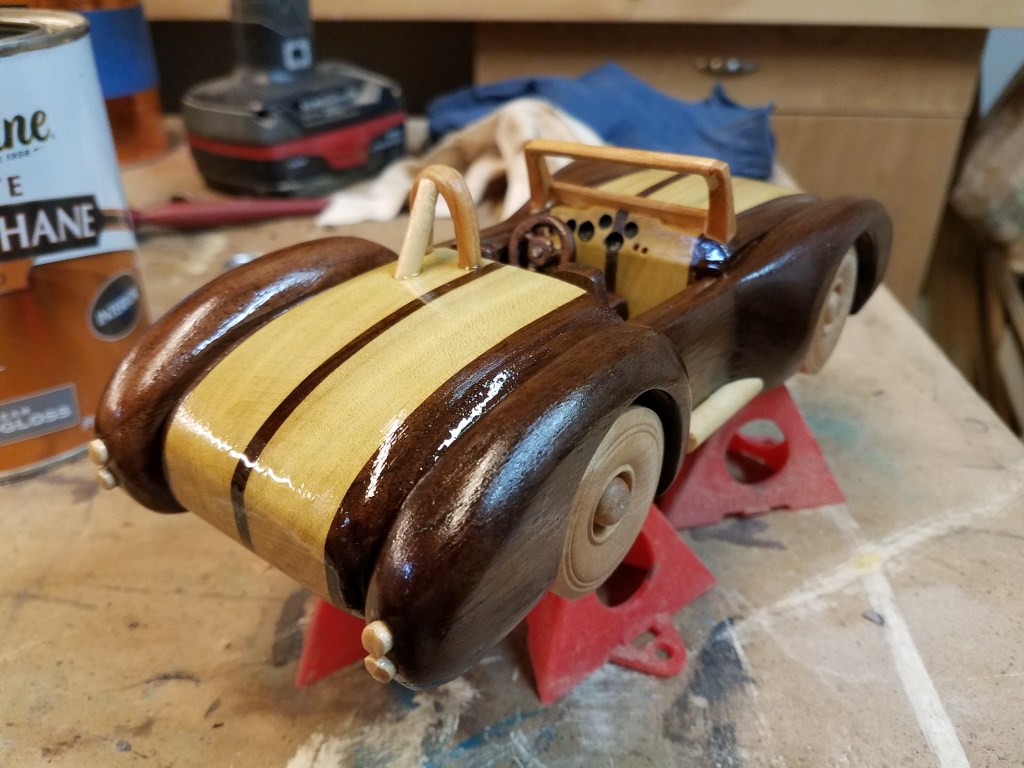
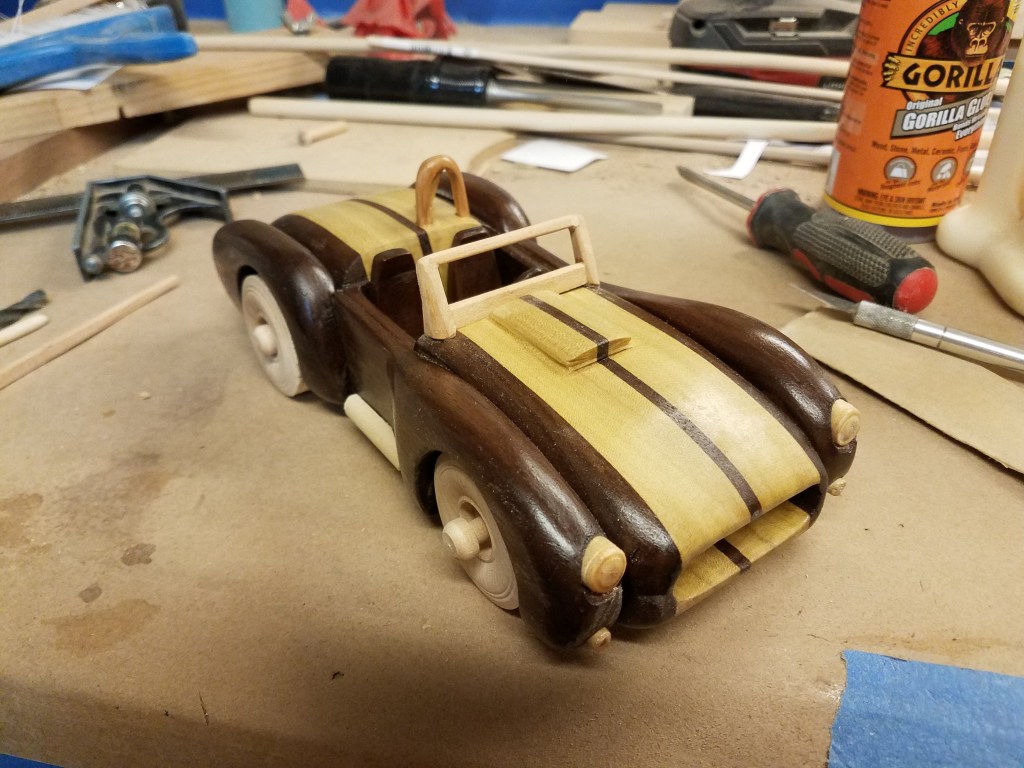
I shape almost the entire car by holding the individual pieces up to a disc sander and just keep cutting away wood until I get something that resembles a Cobra. I think one of the keys to making this come out right was keeping the body section square and flat until the very end. The bandsaw cut away the profile, but it also allowed me to cut away the areas around the hood scoop. While still a single chuck of wood, I was able to drill out and shape the grill. And I wanted those stripes to be lined up dead straight from front to back, and starting with this square center section made that way easier.
One of the trouble areas for me was the headlights, which didn’t come out quite the way I wanted them. If I make another of these, the fenders need to come a bit more forward so they envelope the headlights. But that’s why you make a first one—so the second one is better. The windshield was tough too, because I originally started making this as a simple toy, and a toy windshield would be a strip of wood with no opening. The finished windshield here is clunky looking, but the next one will be better.
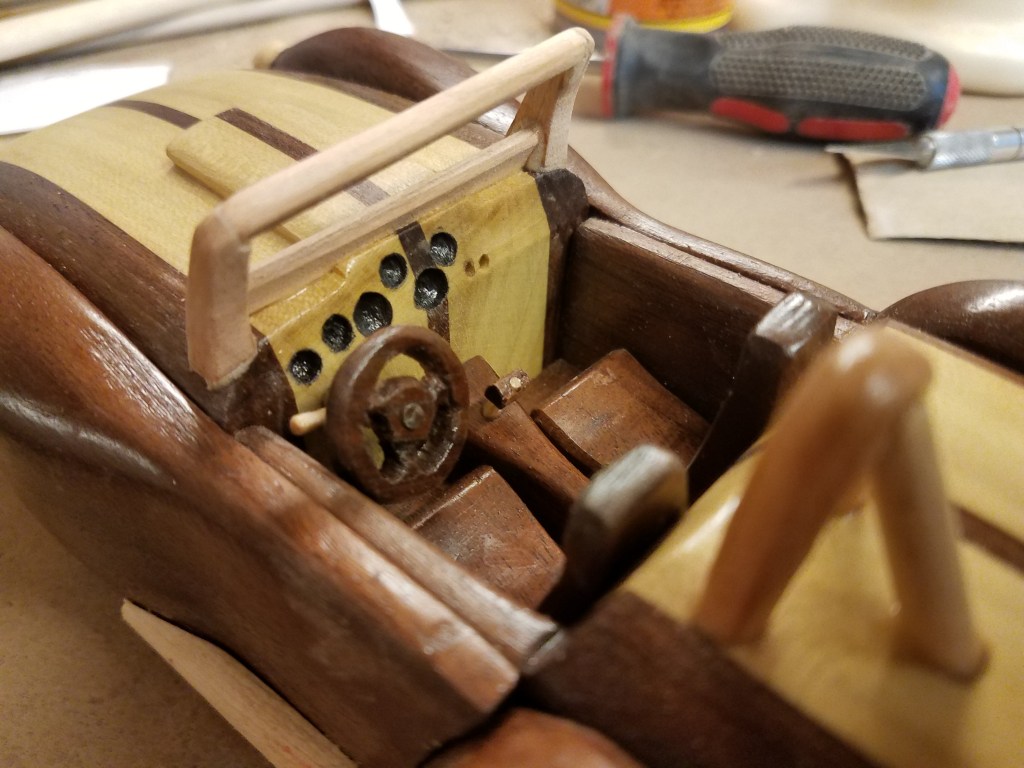
The third thing was the roll bar. I actually tried to bend a 3/16 dowel, and it almost… sort of… worked. I soaked it in hot water for a couple of hours, and it bent to almost 90 degrees. I tried again, and it bent a bit more. I microwaved it, theoretically to soften it up, but it dried out too much, and alas… it snapped. Rather than go through that heartbreak again, I just cut one out of a piece of cherry and carefully carved it into the shape I wanted. Only broke it once!
Apart from all that, this was a lot of fun to make. I enjoyed making the tiny shifter and turn signal lever. I’d like to tell you that those were carved from a sliver of Honduran Mahogany or something, but it was a toothpick. I actually chucked the toothpick into my drill so I could cut a small knob onto the end of the turn signal level. You can barely see it, but I know it’s there.